Tuesday, June 29, 2010

Poses


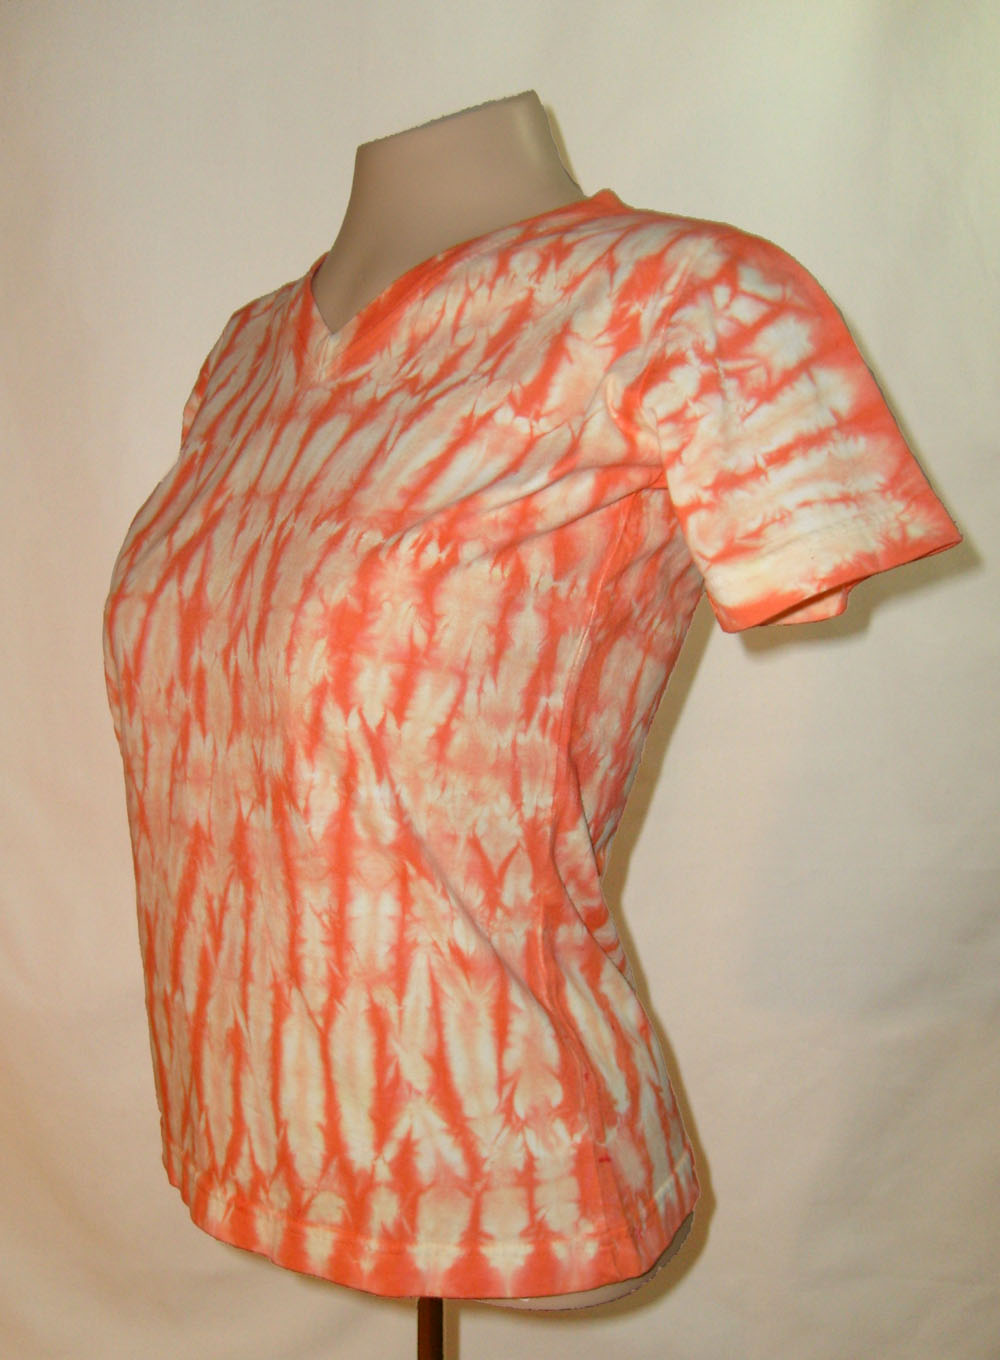
I think my mannequin needs to see an orthopedist or physical therapist. Not because it is missing a lot of body parts, but because the posture is horrible. Gives me back pain just thinking about posing like that. And did you know how hard it is to find a mannequin that looks like a normal person?

Oh well. At least it looks better to have clothes on a mannequin than on a hanger. Even though I thought my hanger was really nice. Did I mention that taking pictures isn't my strong suit?

My husband asked if I was going to go back to the store for more body parts so it would at least have arms. I'm thinking about it. While it would make it harder to dress with arms, then maybe the shoulders wouldn't be uneven.

Sunday, June 27, 2010

Class


Yesterday I took a class at the Textile Center of MN titled "Variations on a Theme: Shibori". It was interesting and useful. There are some things that are hard to pick up from books. And talking to others gives you new ideas and ways of doing things. And of course, prompts you to use different color combinations.

The picture is of two of the scarves I, before ironing. The purple one was braided with two others and dyed. The other two I am dying a second time. One braided with itself, the other twisted.

The green one was folded and clamped between some washers. The washers keep the dye from getting to part of the fabric. you can use all sorts of shapes, as long as they don't absorb the dye or rust. They also need to be relatively rigid. How they are folded will also affect the spacing & result.

Wednesday, June 23, 2010

Designs


It's amazing what designs you can make with simple objects. Just using some odd squeeze clamps on fabric can create an interesting pattern. Nothing fancy.

Tuesday, June 22, 2010

My domain


Well, my SIL has a domain of her own. But it is a lot more comfortable with bookcases, a comfy chair, etc. My domain is down in the basement. I have a kitchen cabinet and counter I got at the reuse center for storage. And a large table set up in the middle of the room. This way I'm right next to the laundry sink and washer. And the floor drain for when I spill dye on the floor. Oops. Good thing it's a concrete floor.

My husband will come look at it, but I'm not sure he really wants to touch anything over there. I did set up an area with a nice work surface for his electronics soldering and assembly. So I don't feel like he has been left out.

The other picture is of some items that are 'reacting' with the dye. They'll need to be washed out tomorrow.

Monday, June 21, 2010

Dog pics


Yesterday I was able to 'borrow' 2 dogs to model dog t-shirts for me. The one didn't seem happy to be wearing a shirt. You know how they kind of duck their head down and look at you like you've just been yelling at them. The other one didn't seem to mind wearing it. It was just a challenge to get it on him. Good thing their person dressed them.

But they look really cute in the t-shirts. And they didn't even try to chew on them.
Of course I didn't get nearly enough shots. I'm so new at taking photos for marketing instead of for just me to look at. I forget to look at what is in the background. And how many shots I have of the left side compared to the right side. But I still got some good ones.

And it was kind of nice that my husband was wearing a shirt that matched the dogs' shirts.

Saturday, June 19, 2010

Some things work better than others


Well, I got a larger pan so I could use my Tjaps. When I heated them in the wax some stuff came off. It looked like rust. But since they are made of copper, I didn't figure that was it. But then I realized that it would still have some residue of wax on it. So that must be what was coming off. Some of the videos I looked at showing how they are used, the wax looks rather brown. They may add resin to the wax mix also. Oh well.

But the batik using the cookie cutters works well. There is a huge variety of ones you can get. The picture today is one where I'm partway through doing a shirt with some flowers and butterflies. It is being dyed now. I think it'll be cute.
A scarf I dyed today I'm not sure of. It isn't my choice of colors. But I'm trying to do colors that aren't only what I like.

Friday, June 18, 2010

oooh, pretty


I got my order from Dharma Trading. I got 3 Tjaps (I believe it pronounced like chop). They are used for batik to apply wax to fabric to block the dye. You'll get undyed ares that way. Think of a rubber stamp, how it applies a pattern to paper. But this is the reverse. It keeps dye from the fabric.

I put a couple pictures up so you could see how they're put together. They are made from strips of copper and have a handle on the back. Dharma has more info on how they're made.

You let the Tjap sit in the container for a bit to heat up. Otherwise the wax just wants to stick to it and not move to the fabric. Or it cools off the wax too much so it won't soak into the fabric. The wax just sits on top and doesn't block the dye.

I'll have show you my attempts to use them later. It didn't occur to me that the pan I use to melt wax wasn't big enough to put these in. I use a 9" pie tin I got at the thrift store. But of course, that is how big it is at the outside edge. You can't put something that is 9" in it. The one on the left is 8" long, the largest one is 9.5" at its widest point. I figure a cheapo aluminum pan will work.
Here are a few videos about batik. The bottom one shows a person using a Tjap. Her site has a lot of good info on dyeing. Well written and easy to understand.

Dharma Trading has several videos showing how to use the various tools. I've been quite happy with Dharma Trading and the product I've gotten from them.

Tuesday, June 15, 2010


Above is a picture of a brown and green shirt I have in my Etsy store. It was done with the Mokume Shibori technique. It shows the different pattern depending on if the rows of stitching are offset from each other.

The brown rows were carefully stitched the same for several rows. This made the fabric pleat in a consistent way. At the edge of the brown I stitched exactly the reverse, to give change the pattern. Then I left about 2" and stitched the green area in a more random, alternating way.

So when you look at the pattern you can see where the stitches line up more, row after row, and where they alternate a lot more. Both patterns are nice. It gives a nice texture.

I suppose if I was really careful I could get something similar to a checkerboard. But I would also have to spend an awful lot of time getting the fabric to pucker right when I was pulling up the threads. You have to kind of work it a bit to get it to go nicely. And you don't want the sewing threads to sit on top of the fabric, it leaves little dashes. Some are good, but too many give a look that isn't what I'm trying for. Kind of like weeds are plants where you don't want them. They may be pretty, but only if they are where you want them.

Saturday, June 12, 2010

It turned out well


We had rain for a couple days so I've had more time to prepare shirts and dye them. I'm really happy how the 2 shirts I had done with the Mokume Shibori technique turned out. The colors and texture are really nice. That is what is in the pictures.

The stars and stripes ones also turned out the way I had in mind.

The small alphabet stamps for batik aren't going to work. I wanted to use some smaller letters, but the wax spreads too much, it doesn't look the way I want. Perhaps I'll try with different temps of wax. I need different burners to heat my wax. I use one of those portable burners since I work in the basement area. It runs a bit hot, even on the lowest setting. I'm using soy wax and it melts at a lower temp. But from reading the instructions of how to get out traditional batik wax, which is a mix of paraffin & beeswax, I'll figure out what works best for the soy.

Soy wax can be washed out in hot water & detergent. It's like a harder vegetable shortening (looks like Crisco but firmer). Since the temps used are lower it's also less likely you'll burn yourself.

To get out paraffin and beeswax the item has to be boiled in water and then cooled so the wax can be skimmed off. It used to be you could take it to the dry cleaner and they could get it out. But the chemical they used was 'kind of' toxic and not very many places use it any longer.

You can get soy wax for making candles also, it gives off less soot.

Thursday, June 10, 2010

Copper Tjaps

Well, I splurged. Dharma Trading got in some copper Tjaps in. Compare to rubber stamps for ink - but are used for wax for batik. It's another way to get wax on your fabric. So I managed to get a couple. There are other places on the web to get them, but the price is good and I trust Dharma since I've ordered from them before. They are really clear on what you are getting and how to use it. If you do much dyeing, fabric painting, etc., you should check them out. They even have a sense of humor.

So when they come in I'll post of a pic of them. And of course I'll have to practice using them. So far my batik has been using paint brushes or cookie cutters. Did you know cookie cutters work pretty well to do batik? That is what I use for the stars on the t-shirt below. I got a few different sizes and sets. I'm going to try with an alphabet set also. You should see my test t-shirts, they are quite 'decorated'. Of course, they also have a lot of paint samples on them since, when I'm painting a room, I think wiping my fingers on my t-shirt is easier than getting a paper towel.

Wednesday, June 9, 2010

Notes


It's good to take notes. (I feel like I have a feature picture of the day).

In my best announcer's voice, today's picture is of a pratice shirt I did a while ago. After a while it gets hard to remember what you did to make it look like that. So when I took pictures of these I put little notes in the pictures. I helps later when you look at the shirt and want to do it again, or don't want it to turn out that way. Aren't digital cameras great? You don't have to pay to have pictures developed and, most of the time, you can find them later.

I spent this evening digging up the yard so I didn't get enything new prepped or dyed. Maybe we'll get a rain-out tomorrow so I won't have to choose what to work on.

Tuesday, June 8, 2010

More than I know

There is so much to learn. I keep thinking it would be good if I were able to be happy with 4 hours of sleep a night. Just think how much more I could get done.

In my perusal of the web I found some links to share.

This link has some really good information about how to dye and use some other supplies properly. Very clear and useful.

And here, the second picture down is just beautiful. I've tried to do something like it, but it falls in the 'eek, I don't think I'll show anyone that' category.

Monday, June 7, 2010

Like tightening a corset or something


Today's picture is of the shirt I was sewing up. I have almost all of the threads pulled up tight. Once I get them all pulled and tied off it'll be ready for dyeing. Then it'll look a lot like the orange one in my first post. You can see the ripples and folds the sewing makes. You don't want the rows too consistent or you'll get something more like pleats. Depending on how far apart the rows are, how far between stitches, if you go straight or wavy, etc., change the result.

Shibori was frequently dyed using indigo. While it take a bit of work to get a vat going, it doesn't need a mordant like most other natural dyes. The problem with most natural dyes is that the mordant can be quite toxic. A mordant is something that makes the dye react with the fiber and permanently bond to it. Think of bread. Without water, the yeast won't 'eat' the flour and create carbon dioxide and cause you bread to rise.

And an indigo vat can be like sourdough starter. It takes some care and feeding to get it set up and maintain it. But then it isn't so bad. But my setup doesn't work well to use an indigo vat. Also, I like to use a lot of different colors. Although I do prefer a nice blue that is close to indigo blue.

Friday, June 4, 2010


The picture above is a shirt I'm working on. For Mokume Shibori you sew a lot of parallel lines on the item, pull the threads up tight then dye. I have this shirt almost done sewing. The purple strip along the side is some scrap fabric I'm using to hide the knots. Otherwise you get little dots up the side when you dye it. I'll put another one up the other side when I pull up the threads.

Wednesday, June 2, 2010

Photos


I'm not the kind of person that takes a lot of snapshots. So having to photograph the items I'm making is hard. Of course, I don't want people to think I just casually leave clothes laying around the house. I go more for neat and tidy, not stylized. And I even used to work in a retail clothing store.

But I won't post the photos I think are really lame. I'm trying to post what I think turned out well.

Today's post has a picture of a shirt that is partially done. I did the batik part to put the stars on the shirt, I just need to dye it. I only have 2 waxed though. I like to do a few at a time, so I'm not running the washing machine with just one or two items in it.

I also need to remember to take pictures of a shirt that I'm sewing up for the Mokume style shibori so I can show the steps.

Tuesday, June 1, 2010

Look at me!


Well, what else do you do for your first blog post? I tend to be rather minimalist in my writing, but I’ll try to make sure I fill you in. Wouldn’t want you to have to guess what the heck I’m talking about.

This blog is for my crafting, specifically fabric dyeing. I’ve been doing various fiber/textile crafts for many years. Since we’ve gotten most of the home remodeled I have more time for fun. The last couple years I’ve been doing fabric and garment dyeing. After a while, you and your family have enough shirts, I decided I would make a go at selling dyed items. Well, that or making more friends and getting more family.

Of course, I’d love it if you went to my Etsy store, looked around and let me know what you think. Would you be surprised to know I am there as BaronessColor also?

The pictures are of a couple shirts I recently dyed. Do you like the rinsing screen I made for my laundry sink?
The shirts were sewn using the Mokume Shibori technique then dyed. I love the pattern this produces. Now, if I could just get faster at sewing things up.
The blue one has some speckles from the dye not disolving properly. I think it looks cool, but I'm not sure others would. So this is a gift for a friend's teenage son.
The orange one isn't nearly that strongly colored now that it has been washed.

Thanks for visiting.