Showing posts with label Maki-nui. Show all posts

Thursday, August 18, 2011

Folds


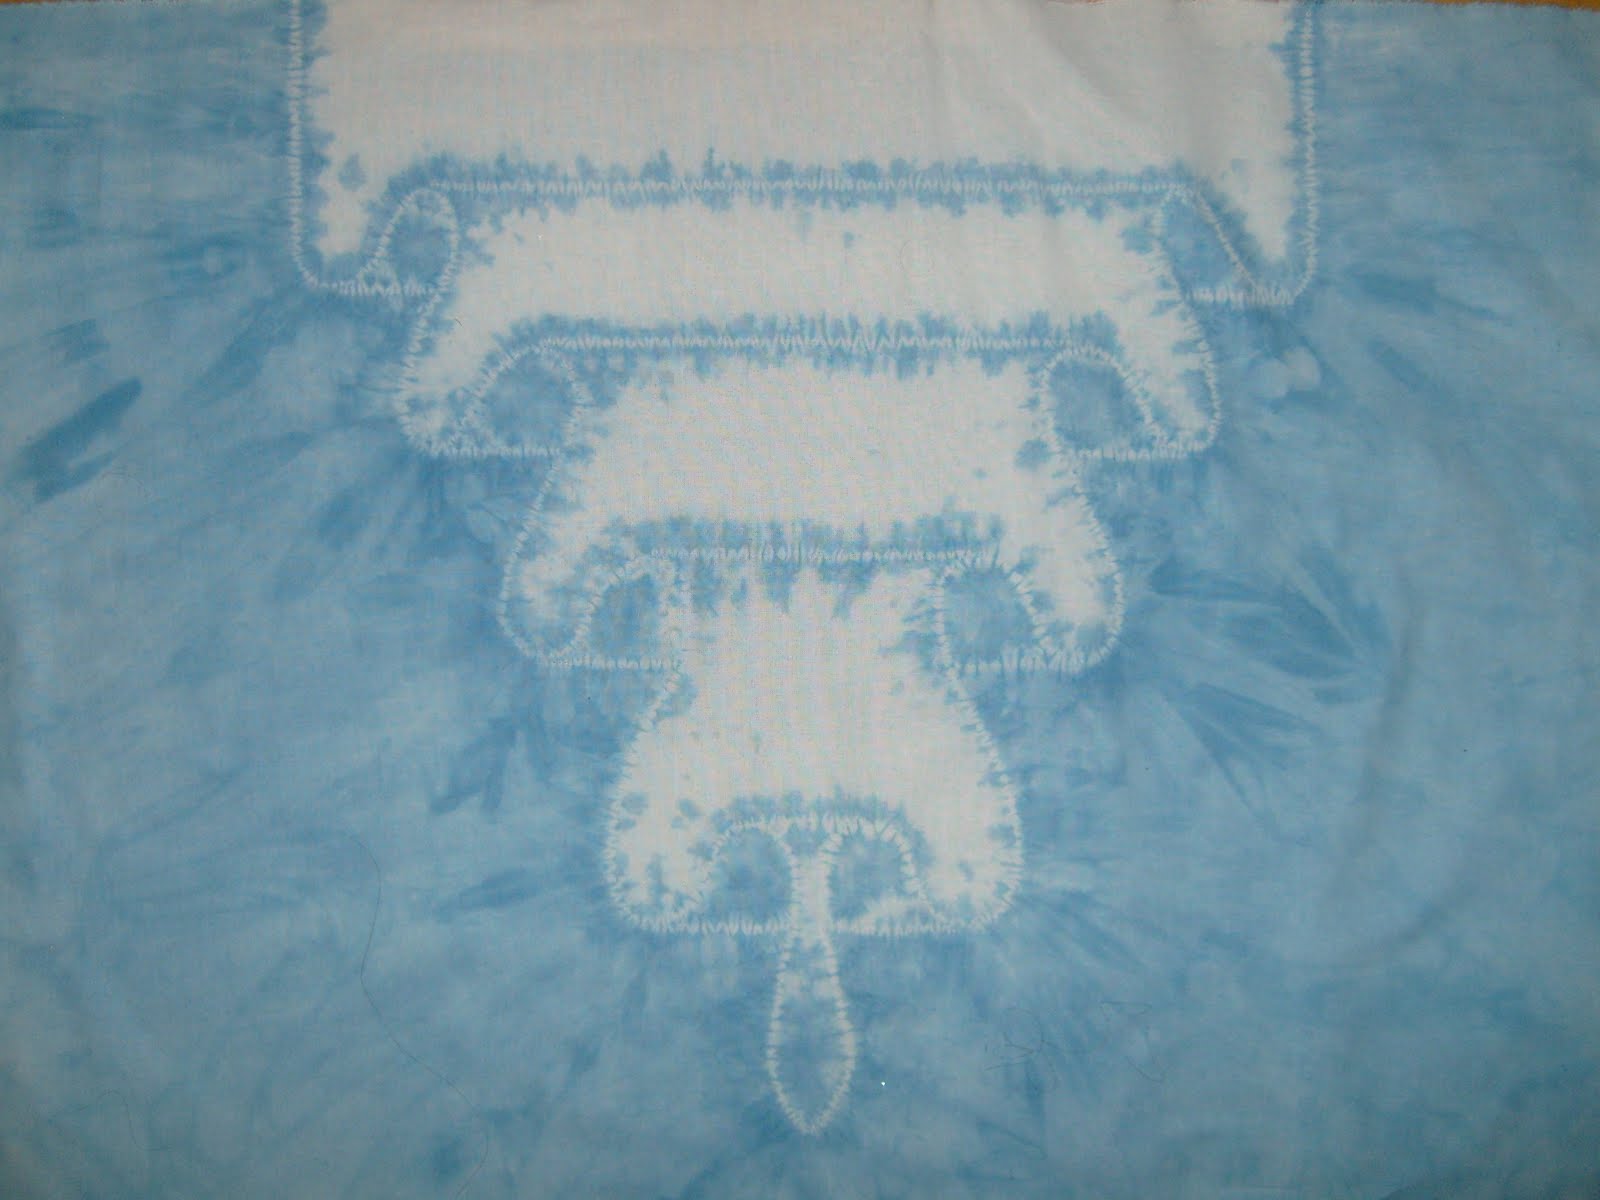
This is my second try at this design. The first one is here. When done well, it looks like a 2nd layer of fabric over the top. When I’m happy with how I figured out how to do it, I want to do a larger panel to use as a curtain. I didn’t make up the design. It is one I saw in the book Shibori: The Inventive Art of Japanese Shaped Resist Dyeing by Yoshiko Iwamoto Wada showing some of Nancy Marchant’s work. You have to figure out what happens when you do something to figure out how to work it so it looks like what you have in mind. I really recommend the book. It has very good instructions on how to do the techniques, as well as history and development.

The shape of the curves look more natural on this one. Although I dyed some spots I shouldn't. I need to mark where the dye needs to go. Perhaps some thread loops. Kind of like dye-by-number. I think I'll have the bottom different also. Not have the pointed part in the middle. Extend the undyed part to the bottom so it looks like the overlay goes all the way to the bottom.

Again, I used thickened dye to keep it from spreading. But I think I’ll need to put it up on a screen rather than flat on plastic so it doesn’t wick along on the plastic. I’ll probably do something like I use in my sink for rinsing out. I have to apply the dye to both sides since the thickener doesn’t allow it to soak through very well.

Friday, August 12, 2011

Better


In a previous post I commented that a piece I'd dyed was nice, but not quote what I wanted. This is the 2nd try and I like it a lot better. The shape of the petals is more what I was thinking and the dye application is better. In the first one I didn't put the dye far enough away from the stitched lines. The filling in between petals is nice because it gives a more dimensional look.
The petals are Maki-age, stitched outline, pulled up and wrapped with the ends of teh thread. The stem is Maki-nui, straigt rows of stitching and pulled up tight.
I think I mentioned before that it is a good thing you can get decent fabric to play with and practice on for pretty cheap. And think of all the entertianment time I got out of those small pieces of fabric.

Friday, June 17, 2011

Petals

Can you see a trend in my work? I really like this color, but it is also similar to the color of natural indigo which is what was frequently used for dyeing before synthetic dyes were developed. Another practice piece stitched and dyed using thickened dye.

The petals of the flower are Maki-age; stitched around the outline, then pulled up tight and the thread wrapped around the point that sticks out. The straight lines are two rows of Maki-nui; straight rows of running stitches.


One of the things I learned is that when using thickened dye – at least at this consistency – I need to apply the dye to both sides of the fabric. It doesn’t soak through to the other side much. I use (no-needle) syringes to apply the dye. Using a squirt bottle seems too much like trying to get ketchup out of the bottle. And I can easily refill the syringe. The surplus store has an assortment of sizes.


I’m doing another practice piece similar to this, I want the petal shapes to be a bit different. These are nice, but the look I want it not so angular. Again, I need to apply the dye a bit further from the stitched line to get enough color to really show off the stitched part.

Thursday, April 21, 2011

Vine and leaves


An example of Maki-nui stitching for the long vine and Hira-nui running stitch for the stylized leaves.
Again, using black fiber reactive dye on silk shows how the color shifts.

Sunday, April 3, 2011

Waves and circles


The stitches closer to the edge are Maki-nui Shibori. It is a kind of overcast stitch where you work the needle almost in a spiral along a fold of fabric.

The curved lines to the inside are Ori-nui Shibori. The fabric is also folded, but the stitches go through the fabric from front to back.

The circles in the middle are done similar to Karamatsu Shibori, but I only did one row of stitching rather than filling the circle. The hankie was folded in half so I only had to sew half circles using one long thread.

The curves are a bit uneven. I didn't follow my marked lines very well. But it is practice.

You can see the color shifting on this one more than the others. I even stirred this batch well.