Friday, August 19, 2011

Leaves


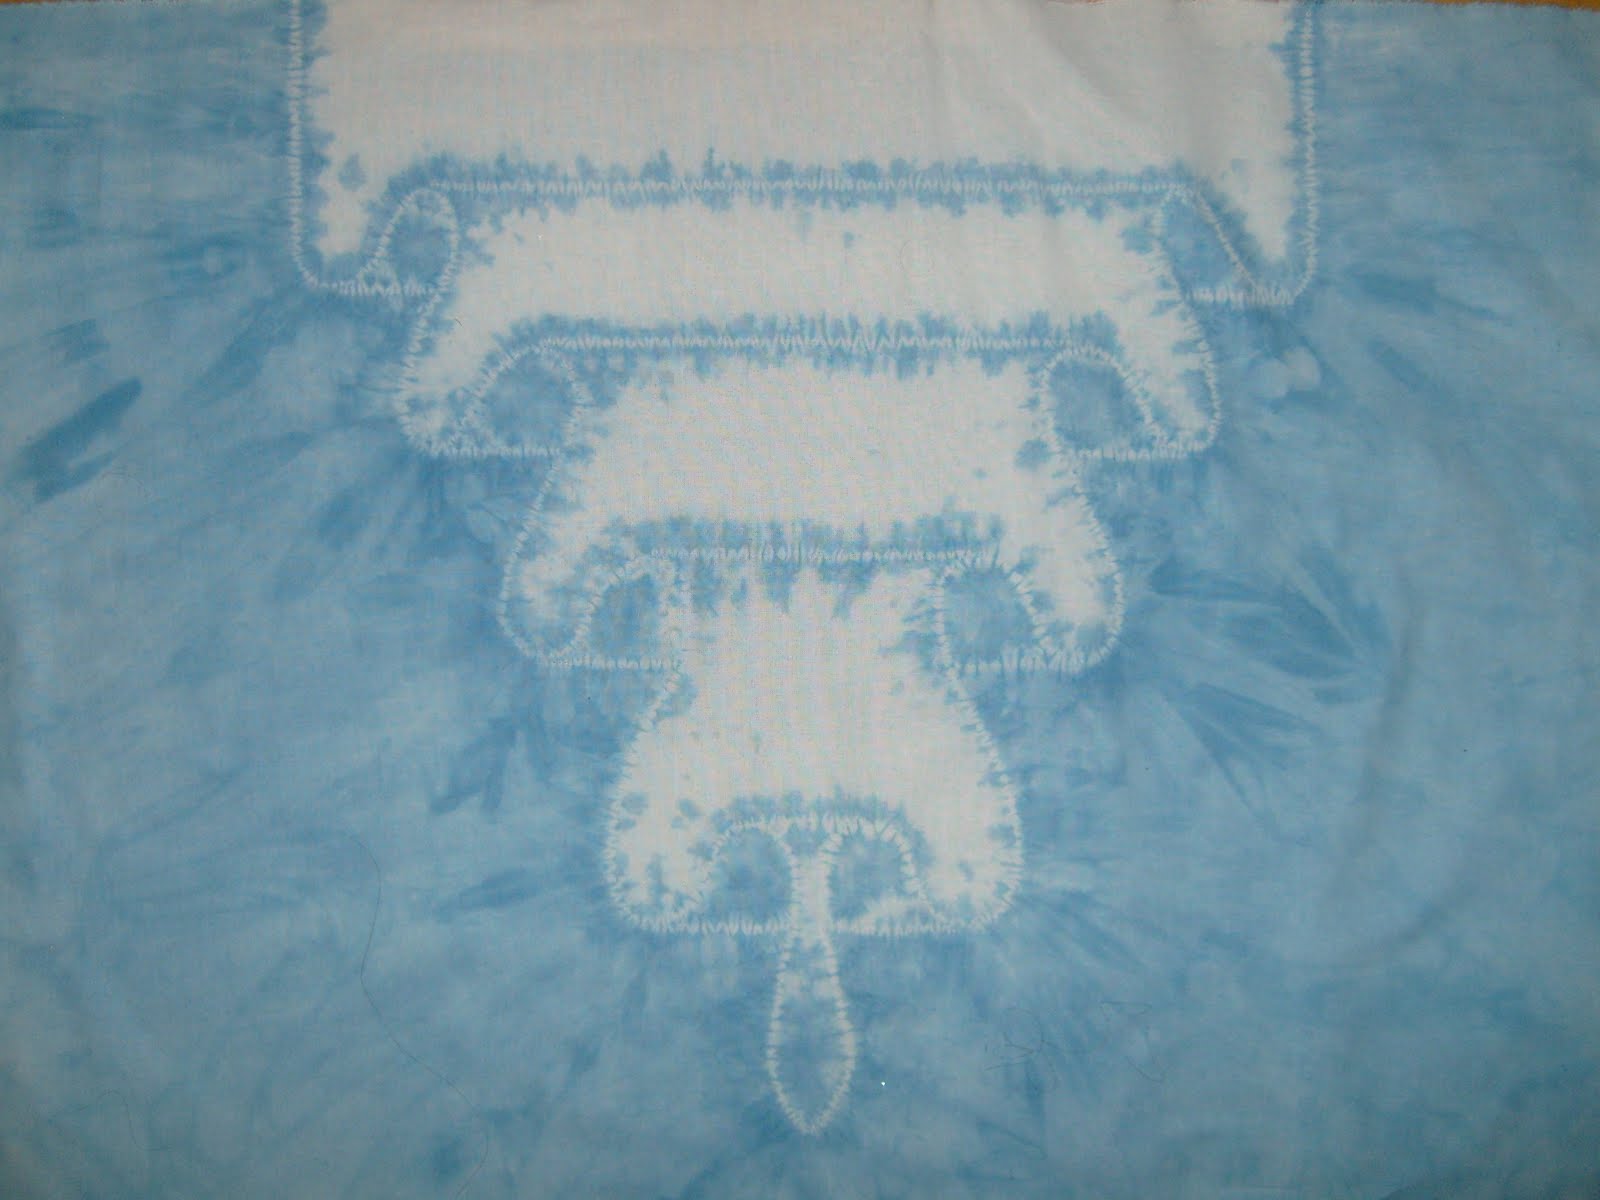
A small practice piece trying out some different shapes and ways of stitching. This is some rayon made out of bamboo rather than the normal wood pulp or cotton. Although rayon is semi-synthetic, it dyes with the same dye that is used for cotton. It’s nice to work with and the fabric can be pulled up tightly so the marks are quite clear.

The leaf on the left was stitched around the outside and one row down the middle.

The center one was sewn in a set of arcs. You can see the dots along the top curves where the thread knots were. I didn’t use pieces of fabric to prevent like I frequently do.

The right hand one was 4 rows of arcs with the center left open.

Thursday, August 18, 2011

Folds


This is my second try at this design. The first one is here. When done well, it looks like a 2nd layer of fabric over the top. When I’m happy with how I figured out how to do it, I want to do a larger panel to use as a curtain. I didn’t make up the design. It is one I saw in the book Shibori: The Inventive Art of Japanese Shaped Resist Dyeing by Yoshiko Iwamoto Wada showing some of Nancy Marchant’s work. You have to figure out what happens when you do something to figure out how to work it so it looks like what you have in mind. I really recommend the book. It has very good instructions on how to do the techniques, as well as history and development.

The shape of the curves look more natural on this one. Although I dyed some spots I shouldn't. I need to mark where the dye needs to go. Perhaps some thread loops. Kind of like dye-by-number. I think I'll have the bottom different also. Not have the pointed part in the middle. Extend the undyed part to the bottom so it looks like the overlay goes all the way to the bottom.

Again, I used thickened dye to keep it from spreading. But I think I’ll need to put it up on a screen rather than flat on plastic so it doesn’t wick along on the plastic. I’ll probably do something like I use in my sink for rinsing out. I have to apply the dye to both sides since the thickener doesn’t allow it to soak through very well.

Friday, August 12, 2011

Better


In a previous post I commented that a piece I'd dyed was nice, but not quote what I wanted. This is the 2nd try and I like it a lot better. The shape of the petals is more what I was thinking and the dye application is better. In the first one I didn't put the dye far enough away from the stitched lines. The filling in between petals is nice because it gives a more dimensional look.
The petals are Maki-age, stitched outline, pulled up and wrapped with the ends of teh thread. The stem is Maki-nui, straigt rows of stitching and pulled up tight.
I think I mentioned before that it is a good thing you can get decent fabric to play with and practice on for pretty cheap. And think of all the entertianment time I got out of those small pieces of fabric.

Thursday, August 11, 2011

Dots


Well, I need a bit more practice. Some of the shibori designs are made up of (literally) millions of tiny dots such as in Kanoko. The grouping and spacing creates the image.
This is just a really simple design in that idea. Although I did it with soy wax batik rather than tying the knots. I used a tjanting, a little cup on a handle, to apply the wax by just touching it to the fabric. The size dot you get depends on how long you hold the tjanting in one spot as the wax flows out the spout and how hot the wax is. As it cools and thickens it doesn’t flow as fast.
The solid petals were filled in using the tjanting like coloring in with a pen. On the one in the upper left you can see the edges of some petals look like I started with dots and then filled in. Can’t imagine why they look like that…. So far, I prefer to use a brush to fill in the wax as I’m more used to it and the control I get. But this would be faster for larger areas as I have to dip the brush pretty frequently.
Like I said, I need more practice. I keep hoping I can learn magically and can be perfect on the first try but it hasn’t happened yet.