Friday, July 30, 2010

Coverage


When doing batik, the wax sometimes doesn't soak all the way into the fabric. If it's too cool it just sits on top of the fabric. It won't block the dye properly then. But if it's too hot it soaks in and can go further than you want.

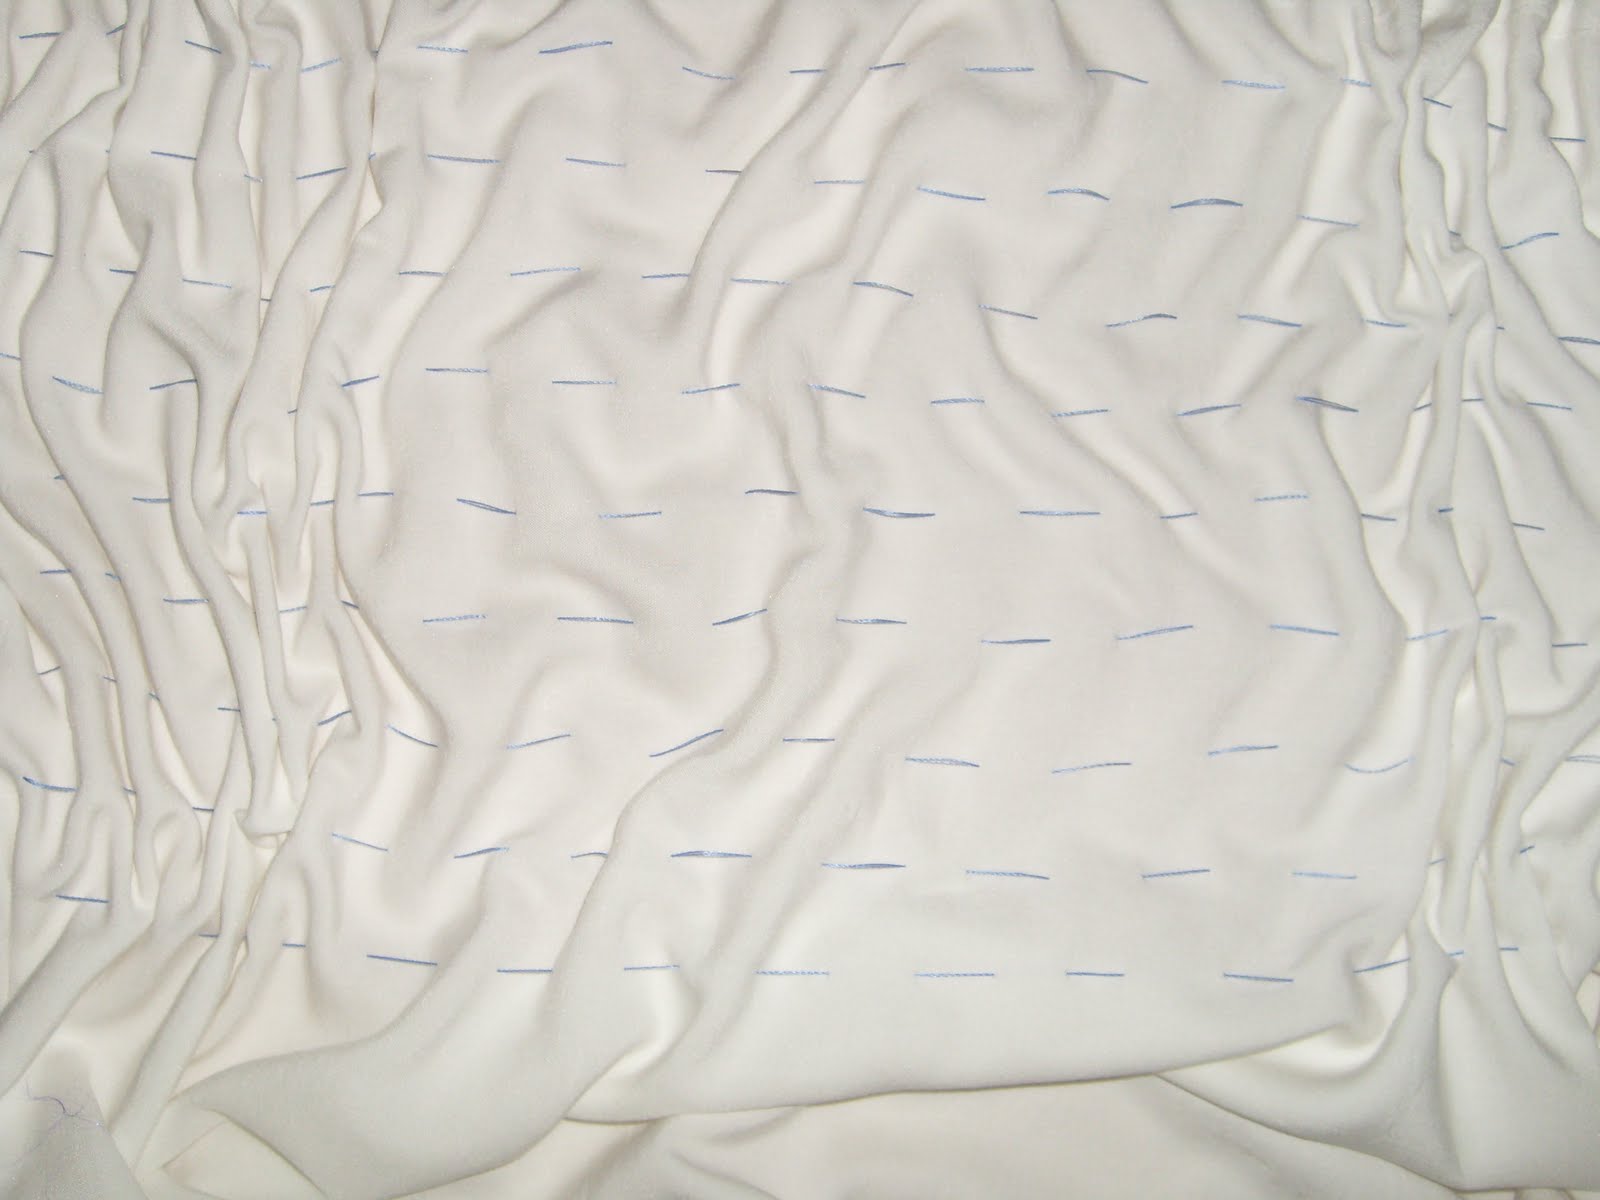
It's good to check the back of the fabric to make sure it went through. You can frequently tell from the front that it hasn't soaked in. It looks more translucent.

One picture shows what it looked like after just doing wax from the front. The other one is after I fixed it by applying wax from the back also. You don't always have to touch up the back, but you should check. Ask me how I know.

Fine Lines


It's hard to get fine lines with Batik. Well, for me anyway. By putting down the wax then scraping a little bit off it is possible to get fine lines. The picture shows some leaves where I tried this. Next time I'll take off a bit more wax.

I think it's a nice way to give it more detail.

Tuesday, July 27, 2010

Brushes

For Batik I'm finding I prefer using a paintbrush over the tjanting. It's easier for me to get an even, consistant amount of wax on the shirt. Most likely, it's operator issues rather than the tjanting.

You have to try a few brushes to see what you like better. The ones sold singly at the craft store are working better for me. They need to have enough bristles to pick up enough wax. But not too 'fat' that they hold too much wax. They are also avail in different shapes and firmness. More firm works better for me.
Since I'm using stencils for some designs, it helps mask off areas I don't want wax on, a stencil brush works well. But I don't like the foam stencil tool.
One called a Filbert is nice also. It tapers a bit, but is squared across the end. A teardrop shape can help for finer details.

Rather than dipping the brush in a pot of wax, I like using my flat tray. I have a piece of craft felt folded double and it helps work like a stamp pad. I can pick up a consistant amount of wax and don't need to 'tap off' or wipe a bit of the wax off the brush.

The tjanting is nice for doing circles as drops of wax are really easy for me to do. Perhaps I should take up polka dot painting.

Friday, July 23, 2010

Variations


The two shirts in this pic were both done with the Mokume Shibori technique and dyed in the same dyebath at the same time. The one on the left is a rayon woven fabric shell. The one on the right is a cotton knit tank.

You can see what a difference the textures of the fabric makes in how the dye is soaked up and how much it travels into the folds. Seams can make a big difference also. Along hems it'll not travel through to the other side so the result will be affected by that also.

Because I stitch up the shirts flat - both sides together at the same time. There is less dye that makes it to the valleys. It has to go through an extra layer of fabric. If it were stitched each layer separately, that would look different also.

Monday, July 19, 2010

Stitching


In this picture you can more easily see how I do the stitching for Mokume Shibori. If the stitches line up too much, the pattern is more like stripes and has less 'texture'. Too much variation and I don't like the way it looks that way either. I like it when there are sections of each, but I keep the sections small.

I've also found that if you pull up the thread while you go, it's hard to keep from getting the stitches from lining up vertically. I'll pull it up some, so I don't use 14 spools of thread on a larger garment. But not too much.

I like to use a colored thread so it is easier to see the previous rows. Black is nice because then you can still see it after it's been dyed. But the blue thread was on sale at the fabric outlet and it's heavier than normal thread. For me, it works better to use upholstery or button thread. Broken threads when trying to pull it tight do not make me happy.

Monday, July 12, 2010

Colors


Here are some of the shirts that were in the buckets in the last picture. The colors and patterns turned out really well. Hmm, did you notice it is also my new banner for my Etsy store? Well, the store name does have the word color in it.
I just love the way the shirts turn out using the Mokume technique. The pattern is so interesting.

I'm also looking at everything I would need to do & have to do a show. I have quite the list of things I would need. Unfortunately, the tent my SIL could loan me isn't the kind that would work well for a craft show.
But I have my MN tax ID# and can now legally collect and pay MN sales tax. Yippee? Kind of. But I'm legal. I'm sure my Mom is proud of me, or at least glad she won't read about me in the paper for Bad Things. When I 'went out into the world' she gave me the advice that if it was something I don't want her to find out about, maybe I shouldn't do it.

Friday, July 9, 2010

Look at all the pretty colors


Wandering through the aisles of a big box hardware store/lumberyard is good. You never know what kind of useful items you'll find. I found a bunch of buckets for $1 each. Although one of the buckets had a leak. A bucket has one simple job to do and it failed at it. Oh well, it holds my tools and batik shapes now.

This way I can do several different colors at one time. I know, I could do them all the same color in a large bucket. But I didn't want to. Not today.

Did you know you can hang buckets from your pegboard? Useful when you don't have a very large work counter for storage.

Dad found some nice larger plastic trays at one of the other stores. They would work well for dyeing a few shirts in a batch.

Thursday, July 8, 2010

Workspace


Since I do my dyeing in the basement, and I have an awful lot of other stuff in there, I have to make do with what I have. This is a picture of mixing up various dyes for several items I dyed last night. I know I don't have the nice diagram that Dharma has on their site. But then my drawing skills aren't as good as the person that made the picture.

The wet paper on the washer works well to capture the dye powder. Then you don't worry about it floating everywhere and getting on things you don't expect. Did you notice it also helps with keeping the spilled dye liquid from going everywhere. It is blank newsprint, regular newspapers work well also.

The cheapo measuring cups I got at the dollar store work well to mix up dye. You can do a lot of colors all at once.

I'm still working on how to 'paste up' my dye powder. Not sure if it is my technique or my tools. Do I need higher quality plastic spoons? I don't do so well and end up having a lot of particles in the filter. But I fix that by pouring the urea water I'm mixing with the dye through the filter after the dye mix to dissolve the powder completely. It works for submersion dyeing since you need a fair amount of liquid to put the item in. But not so well if you want to use thickened dye. to control spreading. That reminds me, I need to check my container of sodium alginate and make sure nothing is growing in it.

Another try


Some more practicing with a tjap. This try is better, not such huge wax globs. I have a small cookie sheet - like the size for a toaster oven - that I'm using to hold the wax. Then a piece of craft felt that is folded double fills half of it. The felt works like an ink pad. It lets me get a smaller amount of wax because I'm not dipping the tjap in the wax so far. Trying to shake off the extra wax doesn't work so well for me, I don't want to fling wax all over my basement.

For the next try, I'll figure out a way to have a slightly padded surface for the fabric. I think the tjap is slightly uneven. Most tjaps available had been used for many years. Or at least the ones with prices I'm willing to pay.

I still need to play with making some shapes myself. I got a piece of sheet metal at the hardware store. It should be a nice thickness to use.

Thursday, July 1, 2010

A few posts ago I mentioned that cookie cutters work well to use with batik. Since I'm not so good at drawing - you should see my handwriting - shapes allow me to do cleaner, finer work. Then the shape of the flower is closer to what I was expecting. Although with batik it still doesn't always come out how you expect. Often there will be a bit more wax on one part of the shape than elsewhere. But then if you wanted it to be perfectly even you would go to the store and buy it.

I'd like some more cookie cutters, but can't find what I want at the stores around town. Of course, you can buy all sorts of cookie cutters online, cookiecutter.com has dozens of designs. I haven't ordered from them before, so I can't vouch, but I'm certainly contemplating.

But when I mentioned it to my husband, he found me some instructions on how to make some of my own. Instructables has some info on making some.
This video shows someone making a much more detailed cutter. And he seems to have tools most of us don't. You could probably find another tool around the house to stand in, they just won't be quite as easy to use. I'll have to give it a try and see what I can make.